In this post, we are going to learn to apply multiple layers for an image. If you need to review how to cut multi-color images (view Part 1).
The "hinge method" of layering vinyl does not require application fluid. We begin by weeding your already prepared images.

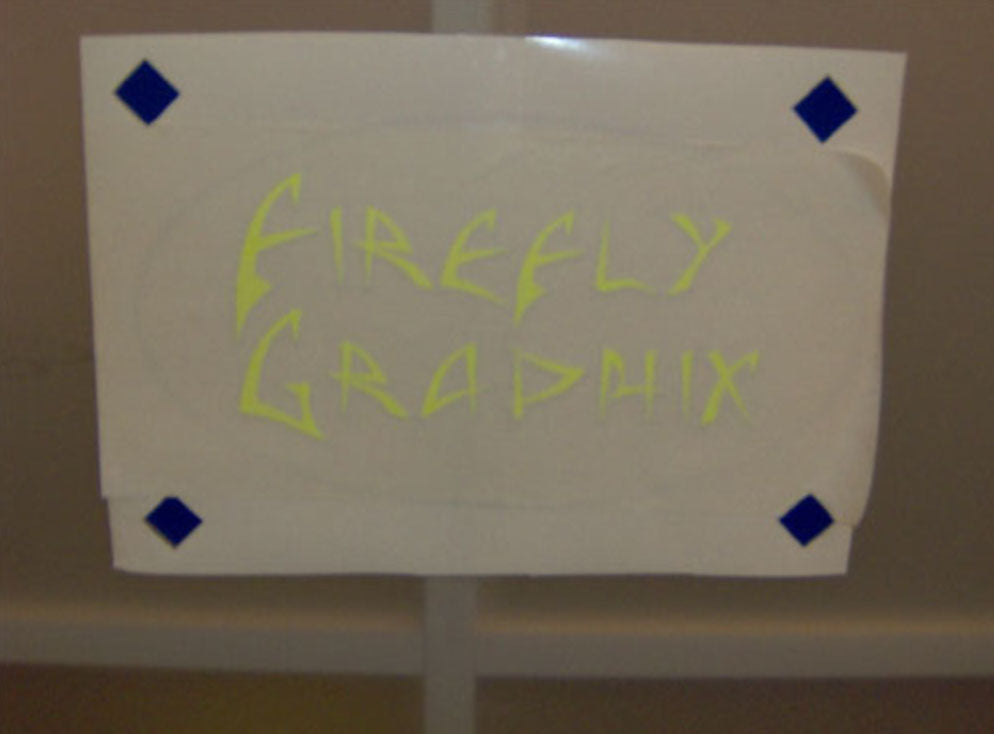
After you finish weeding your vinyl, you will need to determine what order the colors will be layered in. For this image the blue will be the primary or base color (because it is the biggest) and yellow will be the secondary color.

After you determine what your primary color is, set it aside. At this point, because we are using the "hinge method" we are going to use a razor (or a hobby knife) to cut out where the registration marks are. Do this on all colors other than the primary color.

After all of the marks have been removed, we are going to apply application tape on all of the colors.

After the images are masked and ready to be applied to the substrate you will start with the base color. Place the base color where you want it on the substrate including the registration marks. Once the base color is applied you will then place the second color over the first (backing paper still attached) line up the holes with the registration marks and tape it in place (scotch tape will do fine).
After you have taped your image in place you will need to start on either end and pull half of the image back and cut away the backing paper underneath.

After you have removed the first side of backing paper you will then squeegee the unprotected side down. The image should line up perfectly if you have placed the image right.

After you have successfully applied one side you will need to remove the tape from the middle of the graphic holding the second color in place.

After you have removed the tape you will need to fold the image the other way and remove the remaining backing paper. After the backing paper is removed you can begin to squeegee the other side down, starting in the middle and working your way to the outside.

After your image is successfully in place you will need to remove the application tape from the image leaving your layered sign.

After the application tape is removed you will need to remove your registration marks with a vinyl removing tool.

After the registration marks are removed you have a great looking sign.


