Contour Cutting Hints and Tips
-
The first step to contour cutting is adding a contour line to your image.
- This line shows as a light gray color and does not print. It just lets the cutter know where to cut.
- Select the image then select
then . 
-
The Contour options box should open in Design Central.
- Different distances can be set from negative numbers to positive numbers. Negative number contours are used for setting the cut within the print a little so there is no white edge even if the cut is slightly off. Positive contour to 0.000in puts the contour right on the edge of the graphic. Any larger number contour like 0.20 gives you a white space around your graphic.

- Different distances can be set from negative numbers to positive numbers. Negative number contours are used for setting the cut within the print a little so there is no white edge even if the cut is slightly off. Positive contour to 0.000in puts the contour right on the edge of the graphic. Any larger number contour like 0.20 gives you a white space around your graphic.
-
Adjust and apply the grey contour cut line seen around the graphic.
- If the distance of the contour cut is set to 0.00 you will not be able to see the contour line because it will be on the very edge of the image). Also there is an option (With Holes) if this is checked it will also contour the insides of objects like the insides of text. After setting the contour border to your liking, click
(green check mark on the bottom right of design central). 
- If the distance of the contour cut is set to 0.00 you will not be able to see the contour line because it will be on the very edge of the image). Also there is an option (With Holes) if this is checked it will also contour the insides of objects like the insides of text. After setting the contour border to your liking, click
-
Open the Rip/Print window and go to the advanced tab. Click on the
tab. 
-
Set Contour Options.
- On the top left of the Contour Options window you need to make sure it shows the correct vinyl cutter.
- Over on the right set the Registration mark to (Graphtec type 1 automatic).
- Make sure Send: is set to (As separate jobs).
- Check the option
. - Make sure a check is put next to
. - Put a check next to
also set the number to 100.000in. 
-
Click
then . Then click 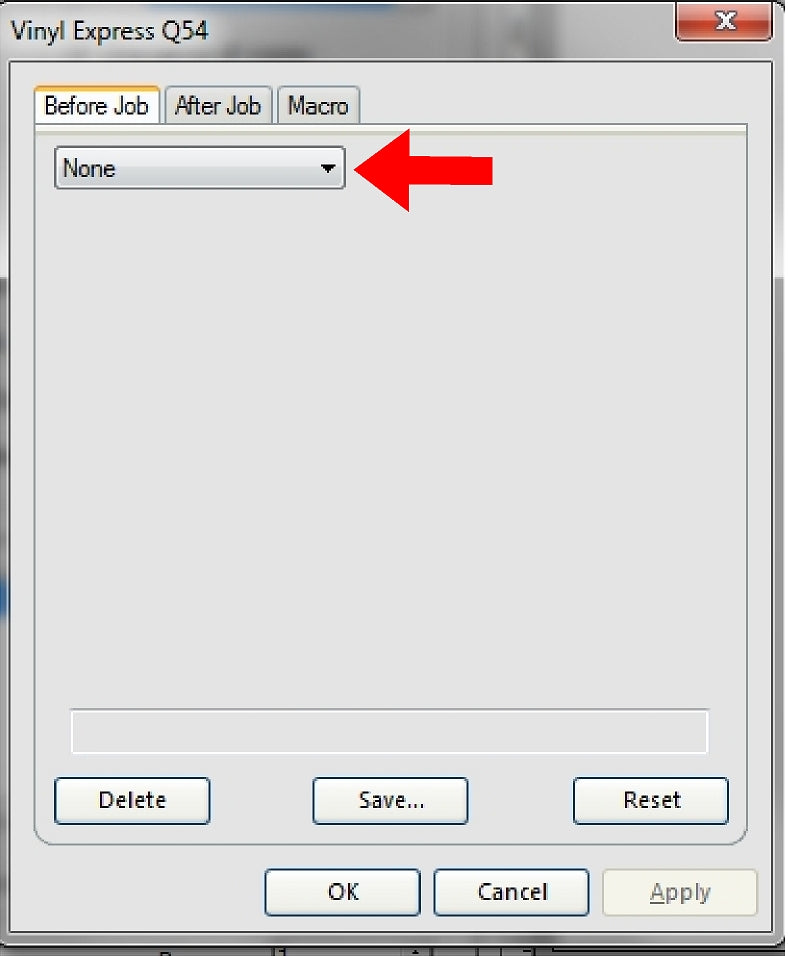
-
Go back to the General tab in the Rip & Print window. You can now see 4 registration marks around the image. Notice that by default flexi sets the image position 3 inches from the left and 1.0 inches up.This is to give room for the pinch rollers on the vinyl cutter. The rollers must be outside the registration marks.

-
The image is now ready to be printed. Make sure you have all of the correct media settings for what type of material you are printing on. Click on
the print job will begin to print and the contour cut job will be holding next the cutter listed in the production manager Que. - After job is done printing give it some time for the ink to cure enough to handle the material (About 20 minutes on gloss material). Then Cut the print off of the printer leaving about 5 or so extra inches of space after the back registration marks. Load the material so the print is facing the same way it came out of the printer. For Example" If you printed an arrow that is pointing towards you it needs to point towards you when it is loaded in the vinyl cutter".
-
Bring Production Manager to the front (Press Green and Purple Gear Icon). Highlight the Vinyl cutter listed on the left side of Production Manager. Select the cut job that is holding then click on the send icon.

-
After pressing the send icon, a message box pops up on the screen: "Please place the pen/knife to the mark, then press Origin on control panel to set the new origin".

-
Use the Directional Arrow buttons on the Vinyl Cutter's Control Panel to move the tip of the blade into the midpoint of the front right registration mark. As Shown below:


-
Press the
button on the Vinyl Cutter to set the new origin. You will hear 3 beeps from the machine when you do this. Next go back to the computer and click on(message show on step 12). The Vinyl cutter will now begin to scan all 4 of the registration marks. After all 4 marks are detected the vinyl cutter will begin cutting. 


