Looking for a way to express your inner artistry? Thinking of taking up a hobby to help you de-stress while creating beauty? You can create unique crafts and gifts by using craft viny after learning craft vinyl basics!
Using vinyl for crafting projects is not a new trend. From the dawn of decorating t-shirts with a yellow happy face to the current popularity of designing and creating unique drinkware designs, craft vinyl has been the go-to medium. Some people may feel intimidated, thinking it is beyond their skills or that vinyl is not an easy crafting material to master. Businesses use vinyl for car wraps, signs, and banners, so some people associate vinyl only with commercial usage. However, it's ideal for creating personal projects and gifts all the way to building an art crafting business.
There are various types of vinyl, but not all of them are useful for crafting. So where does a new vinyl crafter begin? Let's explore the different types of vinyl, the different items that vinyl can by applied to, and the way a new or experienced crafter can build or enhance their skills using craft vinyl.
Types of Craft Vinyl
While there are many types of vinyl on the market, when it comes to crafting, only two types are recommended. Those are heat transfer vinyl and adhesive vinyl. What are the separate characteristics and uses for each of these types of vinyl that can be used for crafts?
Heat Transfer Vinyl (HTV)
Often referred to simply as HTV, heat transfer vinyl is aptly named - the design is transferred or applied using heat. The way it work is that the adhesive backing on HTV activates when heat is applied. HTV can be applied to fabrics and other surfaces that can withstand heat. This makes HTV best applied to clothing, shoes, tote bags. It can also be applied to some heat-resistant substrates like mugs.
Adhesive-Backed Vinyl
Adhesive vinyl is more versatile than HTV. Instead of using heat to adhere the vinyl to a surface, pressure is needed. That's why it's sometime called pressure-sensitive vinyl. This "sticky vinyl" can be applied to hard, smooth surfaces, so it is not useful for fabrics or porous surfaces. Signs, stickers, balloons, cards, glass, acrylics, paper, wall decals, and other crafts are created using this adhesive-backed vinyl.
Equipment & Supplies Needed
You can buy supplies and equipment separately, or try this Muse M15 crafter's bundle or Muse M15 crafter's complete package. These bundles include the tools and vinyl to get you started on your craft vinyl journey.
Vinyl. Depending on your proposed projects, you will need adhesive vinyl (which comes in the bundle above or which can be purchased separately) or heat transfer vinyl, which requires adding a heat gun to your list of tools.
Transfer tape. In general, crafters use transfer tape for adhesive vinyl, but not HTV. EnduraMASK MHC 165 is a good choice for crafters, though several varieties of application tape are available.
Weeding tool. This retractable weeding pen is affordable and versatile for your craft vinyl weeding.
Squeegee. You can start with one of these 4" squeegees, but if your projects get larger, you may want to get a 6" squeegee. These will help you smooth out the bubbles between your application tape and your craft vinyl, as well as your vinyl and your item being decorated.
How to Apply Vinyl
Let's cover some basic steps to applying craft vinyl to surfaces. You will find more comprehensive steps online, but let's go over the basics.
Clean surface. You will need to start with a clean surface. A surface with dust, debris, or even a lowly hair on it will affect the vinyl adhesion and long-lastingness of your decoration. Based on the surface you are using, clean it thoroughly with a safe cleaner and then dry it with a soft, water-absorbent towel.
Get rid of the excess. Trim or weed away excess vinyl that is not part of your design. Carefully cut around the design, making sure to not cut into the design. You will be left with just the design with the paper on the adhesive back. Read some tips for weeding small letters or intricate designs
Tape away. After cutting a piece of transfer tape just larger than your design, peel away the backing of the tape. Carefully place the transfer tape over the vinyl design.
Banish bubbles. Use your squeegee tool to carefully remove or smooth out any bumps or bubbles between the application tape and the vinyl. Take your time and use firm but not tearing force.
Peel and place. Carefully peel away the paper backing on your craft vinyl. This will mean your design now shows up in reverse on your application tape.
Place, press, and peel to reveal. Carefully place the application-tape face down on your tumbler or other surface, which will make your design front facing. Again, using your squeegee tool, gently press the design onto your surface, in effect scraping away any bubbles between your vinyl and your surface. Carefully peel off the transfer tape and gaze appreciatively at your finished product!
It sounds more challenging that it is. If you feel you need more sticky vinyl application tips, check out our updated Basic Vinyl Application video. It's loaded with pro tips on sign vinyl application techniques.
Craft Ideas
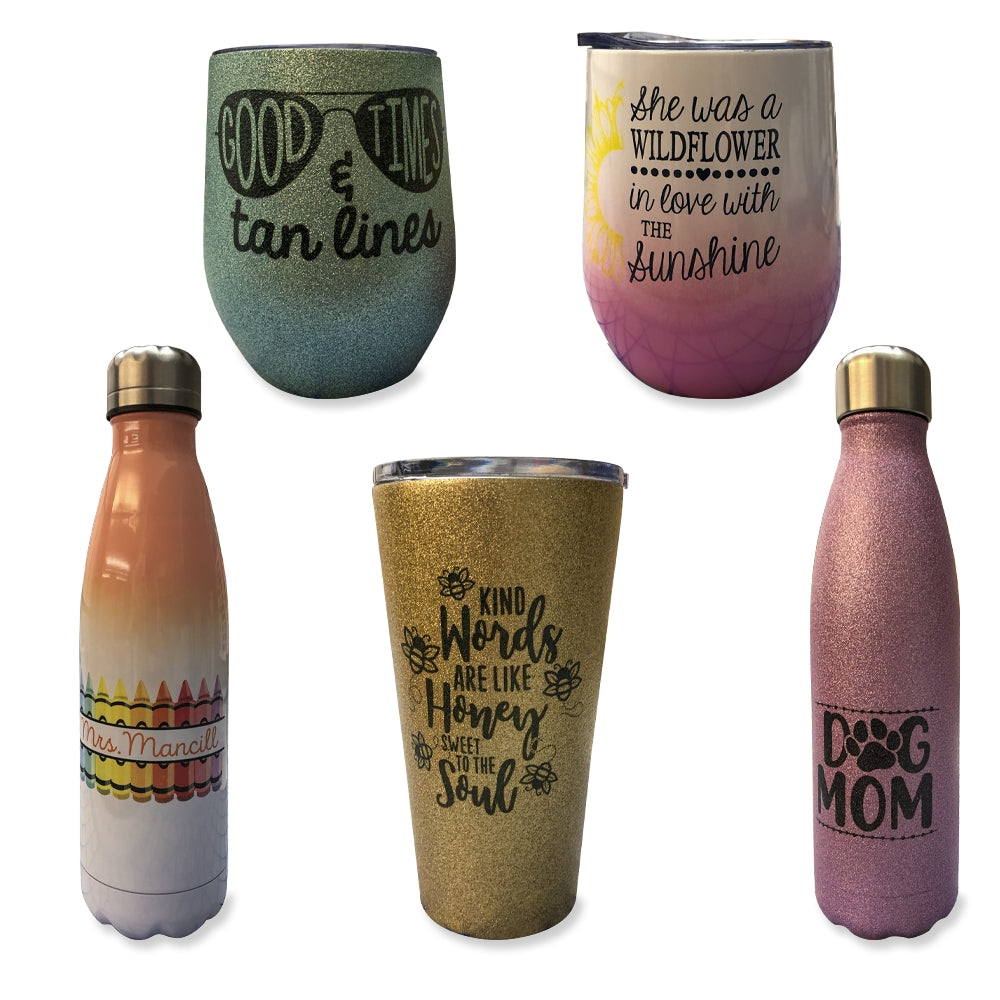
Whether you just want to make some items for yourself, start a small business, sell at craft shows or on some of the online craft sales websites, or want to add a few personalized projects to your current business, using craft vinyl to personalize and decorate items is easy. In recent years, personalized tumblers and mugs have become commonplace, and custom t-shirts never go out of style.
Don't Be Intimidated
Facts are facts, but each person's reality and perception is different. We have presented the facts of craft vinyl, but though you may have the desire to get started, you just don't feel confident. You're not alone! Most crafters feel intimidated at first. Be confident - you can express yourself well using craft vinyl!
One of the best parts of using craft vinyl is that you can start with small projects and move up to more advanced ones. You can purchase craft vinyl in sheets and rolls as small as 12" x 1 yard and add varieties of colors and designs as you grow more confident. You may even get to the point where you want to print on vinyl before applying it, truly creating one-of-a-kind products.

I started using craft vinyl when I got a cutter. The more I practiced, the more comfortable I felt. Soon, I was able to merge creativity with my love of all things personalized.
Teresa S | Grand Prairie, Texas
The possibilities are endless - drinkware, shadow boxes, photo frames, party decorations, balloons, custom stickers, gifts, baby items, and even greeting cards!
SignWarehouse can hlep you in learning craft vinyl basics. We have a library of videos and instructions for many product applications, including craft vinyl uses. This video on drinkware decoration will be educational and (hopefully) amusing, as it shows the basics of applying vinyl to tumblers. There is also a section on dye sublimation, but that is a different process discussed in this previous blog.


