Every cost-conscious operator wants to fit as many designs as possible onto as little vinyl as necessary. So when sending multiple copies of a design to the printer or cutter, seeing needless blank space between objects can feel like a pinprick to the heart (or the pocketbook). Two key setting changes could soothe the ache and accumulate large long-term savings.
Panel Margin
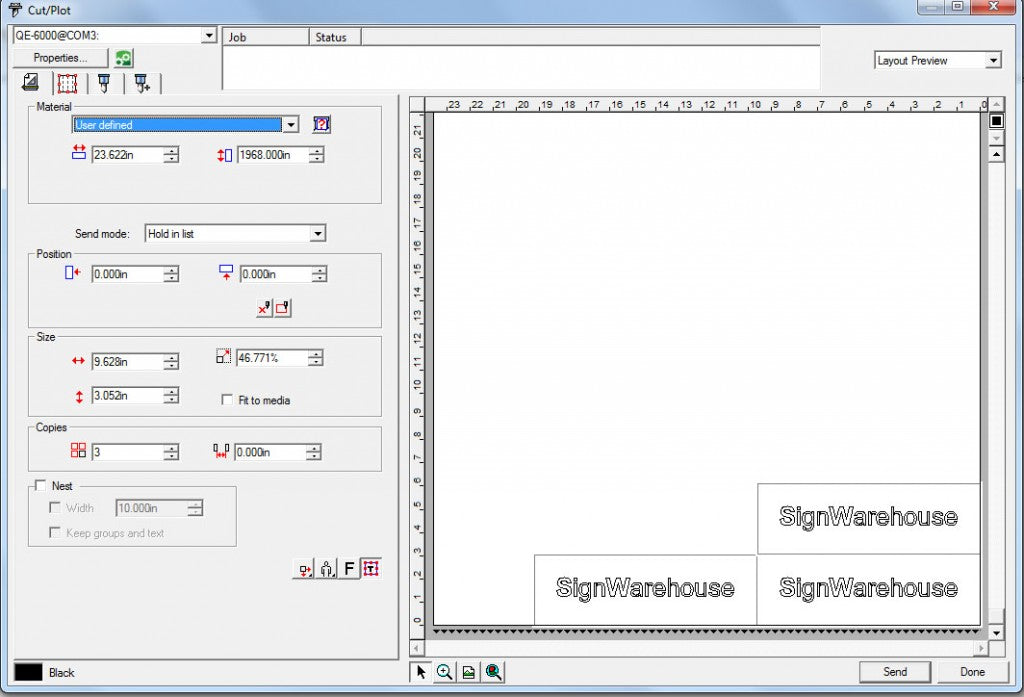
When sending your text or image to production for cut or print, you should notice the thin box framing the design in LXi's (or Flexi's) cut/plot screen. If there is a lot of unnecessary white space between that box and the object, adjust the panel margin to hug your design more closely. In the example below, only two of the three copies of our text will fit on the first line. The cutter will have to advance the vinyl in order to cut the third copy. Therefore, all of the unused space to the left of both rows of text will have to be discarded.
By eliminating the white space surrounding the text, we may be able to fit all three text copies onto the first line. Click the panel tab and check the current panel margin setting. Ours is set to 1.000 in.

By decreasing the panel margin to o.ooo inches, we eliminate the unnecessary white space and allow all three copies to fit on the same line. 

Copy Spacing
Similar to the panel margin, the amount of space between copies can be adjusted to achieve minimal waste. Once again, our three copies will not all fit on the first row. By looking within the general tab, we see that our copy spacing is set to 1.000 inches.

By decreasing the copy spacing to 0.1000 inches, all three copies can fit on the first row.

Summary
While we will not use use every square inch of our vinyl during our job, users can get minimize waste and by trimming down the unnecessary blank spots between our design copies. Adjusting the panel margin and copy spacing may save you quite a bit of material and money in the long-run.


