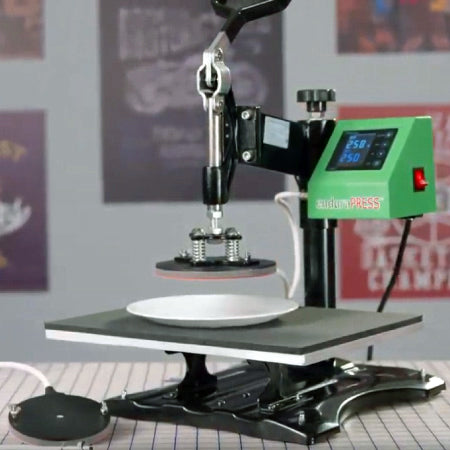
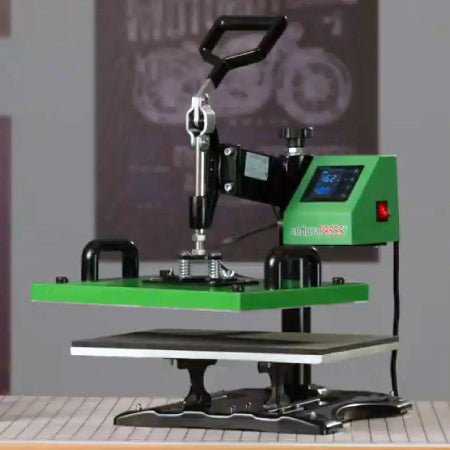
EnduraPRESS MF15 Multi-Function Combo Heat Press
Couldn't load pickup availability
Orders exceeding the stock on hand amount are processed as special orders, which require additional processing and shipping time and are not eligible for return.
Special Offer!
SignWarehouse PRO
Become one of our PRO members and get $20.94 back on this purchase and more! Learn how
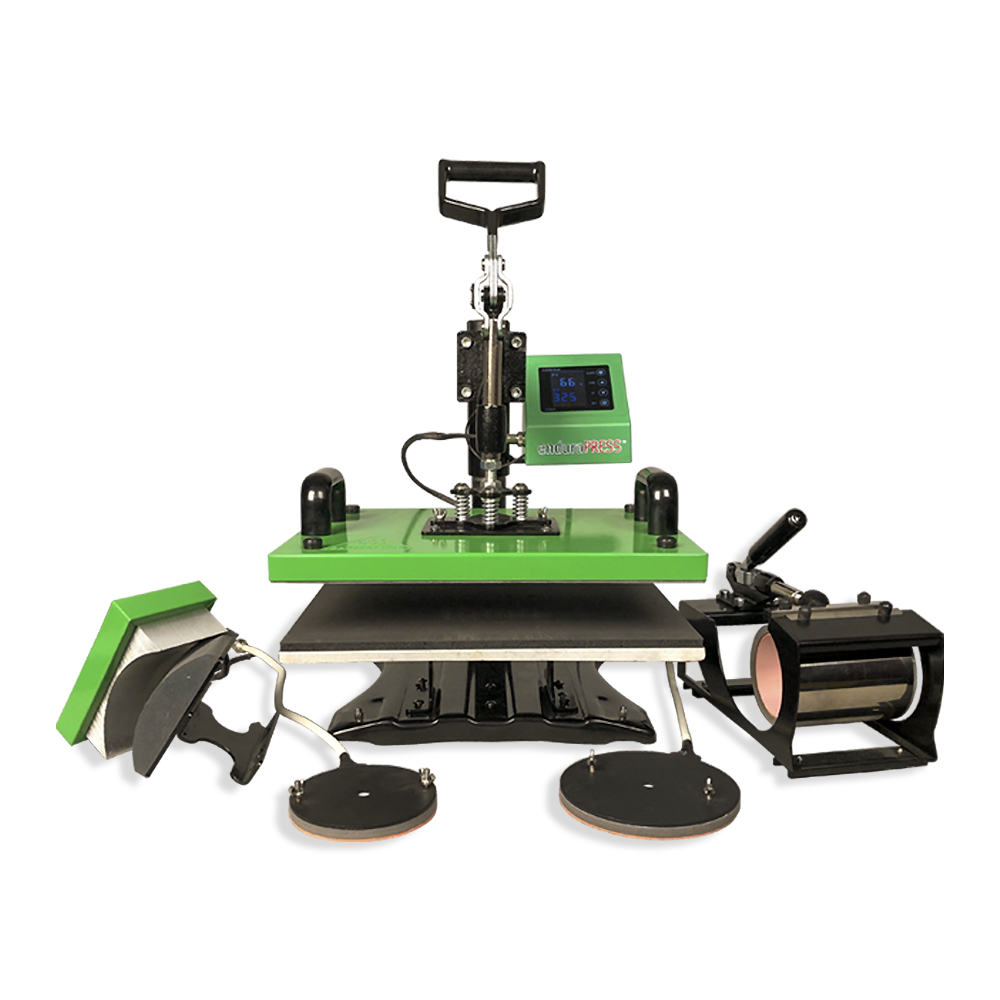
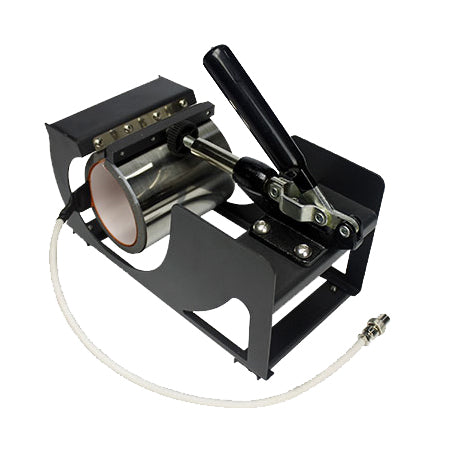
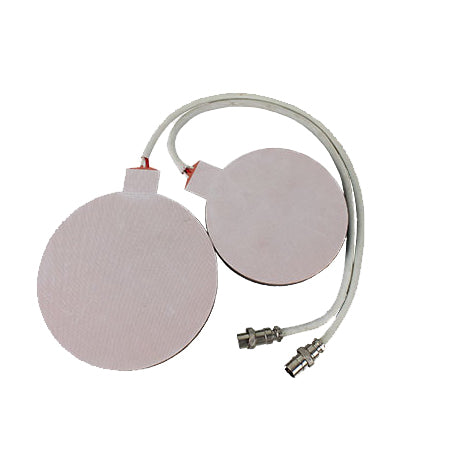
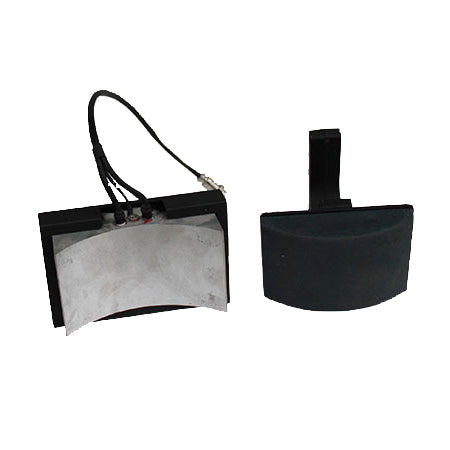
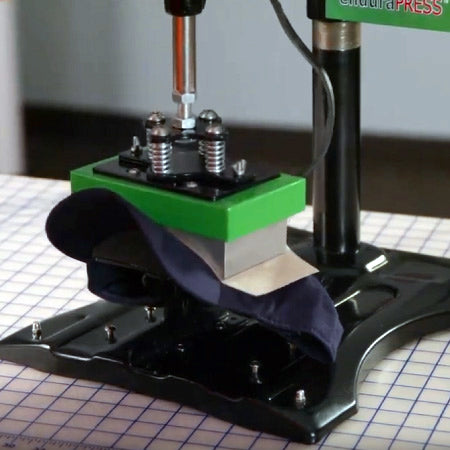
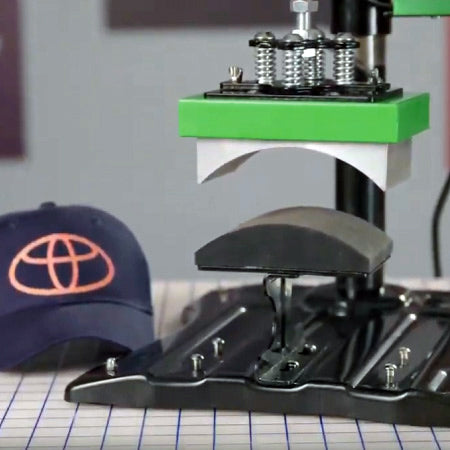
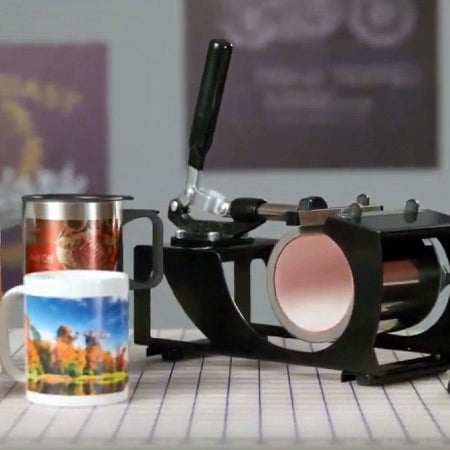
The EnduraPRESS MF15 multi-function combo heat press is a versatile, convertible quick-change heat press that can be used with any one of five different attachments. The EnduraPRESS MF15 features a sturdy swing away design that easily converts to a mug and cup press, a cap press, or a plate press. The swing away heat platen easily accommodates most shirt and apparel designs, and the attachments make decorating mouse pads, tiles, mugs, cups, and plates simple and easy. The platens and heating elements can be changed in a matter of minutes for quick turnarounds from one application to another.
The swing away platen design provides more room for setting up substrates, and has optimal vertical pressure which is necessary for thicker substrates such as tiles and mouse pads. The EnduraPRESS MF15 features a solidly constructed table that enables even pressure across the lower platen.
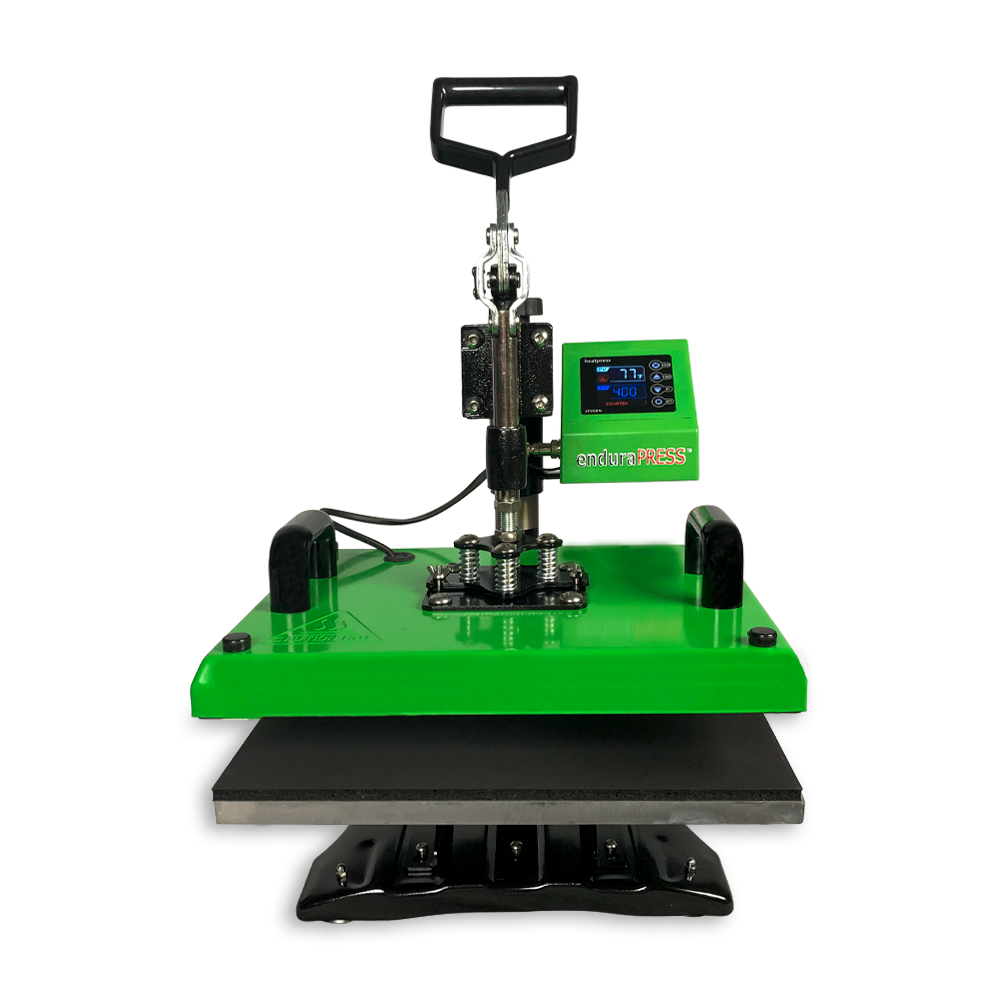
The EnduraPRESS MF15 features a 11 inch x 15 inch heating element that is consistent across the entire platen with a temperature range of up to 480°F. It also features a digital touch-screen LCD control panel which makes it easy to customize controls for a variety of applications. The LCD control panel gives you quick and easy access to cycle time, Celsius to Fahrenheit conversion, a programmable alarm, and temperature display calibration, all accessible in seconds. The EnduraPRESS MF15 swing away design provides excellent pressure and accurate temperature controls allowing for stress free application of even demanding heat transfer products. The EnduraPRESS MF15 is still simple to setup, dependable, easy to use, and provides an endless range of decorating possibilities. See for yourself why the EnduraPRESS MF15 is one of our top selling products.
Features:
- Swing Away design is ideal for even thicker substrates
- 11 inch deep x 15 inch wide heating element
- Mug attachment
- Cap attachment
- Two plate attachments - 4.75 in and 6 in
- Temperature range up to 480°F
- Easy to use and read digital touch screen LCD panel
- Celsius to Fahrenheit conversion
- Programmable alarm
- Temperature display calibration
- High quality durable construction
- Accurate temperature controls
- Maximum Pressure: 1,000 lbs of force or 8.3PSI
- One Year Warranty
Applications:
- Heat transfer vinyl
- Printable heat transfer vinyl
- Dye sublimation
- Swing Away designs can be used for almost all substrates even thicker items such as tiles and mouse pads.
- Swing Away designs provide complete overhead access to laying out your design on the substrate
For a more information on the many options of the EnduraPRESS MF15 multi-function heat press please read the following blog article: EnduraPRESS MF15 Multi-Function Heat Press
READ the User Guide for the EnduraPRESS MF15 Multi-Function Heat Press.
Applications:
- Heat transfer vinyl
- Printable heat transfer vinyl
- Dye sublimation
- Swing Away designs can be used for almost all substrates even thicker items such as tiles and mouse pads.
- Swing Away designs provide complete overhead access to laying out your design on the substrate
CONTENTS:
- (1) EnduraPRESS MF15 Multi-Function Heat Press Machine
SPECIFICATIONS:
- 11 in x 15 in platen
- Mug & cup attachment
- Cap attachment
- Two plate attachments - 4.75 in and 6 in
- Temperature range: 0-480°F
- Heating speed to 392°F (200°C): 13 minutes
- Temperature display accuracy: Within 5°F
- Voltage: 120V/60Hz
- Power: 10.5A, 1140W
- Max Open Height: 0.5 in
- Gross Weight: 78lbs (35kg)
- One year basic warranty
Lifetime Phone Support Included ‡
‡ Lifetime is used to define the duration of time during which the product is available for sale.
Overview
The EnduraPRESS MF15 multi-function combo heat press is a versatile, convertible quick-change heat press that can be used with any one of five different attachments. The EnduraPRESS MF15 features a sturdy swing away design that easily converts to a mug and cup press, a cap press, or a plate press. The swing away heat platen easily accommodates most shirt and apparel designs, and the attachments make decorating mouse pads, tiles, mugs, cups, and plates simple and easy. The platens and heating elements can be changed in a matter of minutes for quick turnarounds from one application to another.
The swing away platen design provides more room for setting up substrates, and has optimal vertical pressure which is necessary for thicker substrates such as tiles and mouse pads. The EnduraPRESS MF15 features a solidly constructed table that enables even pressure across the lower platen.
The EnduraPRESS MF15 features a 11 inch x 15 inch heating element that is consistent across the entire platen with a temperature range of up to 480°F. It also features a digital touch-screen LCD control panel which makes it easy to customize controls for a variety of applications. The LCD control panel gives you quick and easy access to cycle time, Celsius to Fahrenheit conversion, a programmable alarm, and temperature display calibration, all accessible in seconds. The EnduraPRESS MF15 swing away design provides excellent pressure and accurate temperature controls allowing for stress free application of even demanding heat transfer products. The EnduraPRESS MF15 is still simple to setup, dependable, easy to use, and provides an endless range of decorating possibilities. See for yourself why the EnduraPRESS MF15 is one of our top selling products.
Features:
- Swing Away design is ideal for even thicker substrates
- 11 inch deep x 15 inch wide heating element
- Mug attachment
- Cap attachment
- Two plate attachments - 4.75 in and 6 in
- Temperature range up to 480°F
- Easy to use and read digital touch screen LCD panel
- Celsius to Fahrenheit conversion
- Programmable alarm
- Temperature display calibration
- High quality durable construction
- Accurate temperature controls
- Maximum Pressure: 1,000 lbs of force or 8.3PSI
- One Year Warranty
Applications:
- Heat transfer vinyl
- Printable heat transfer vinyl
- Dye sublimation
- Swing Away designs can be used for almost all substrates even thicker items such as tiles and mouse pads.
- Swing Away designs provide complete overhead access to laying out your design on the substrate
For a more information on the many options of the EnduraPRESS MF15 multi-function heat press please read the following blog article: EnduraPRESS MF15 Multi-Function Heat Press
READ the User Guide for the EnduraPRESS MF15 Multi-Function Heat Press.
Applications
Applications:
- Heat transfer vinyl
- Printable heat transfer vinyl
- Dye sublimation
- Swing Away designs can be used for almost all substrates even thicker items such as tiles and mouse pads.
- Swing Away designs provide complete overhead access to laying out your design on the substrate
Videos
Specifications
CONTENTS:
- (1) EnduraPRESS MF15 Multi-Function Heat Press Machine
SPECIFICATIONS:
- 11 in x 15 in platen
- Mug & cup attachment
- Cap attachment
- Two plate attachments - 4.75 in and 6 in
- Temperature range: 0-480°F
- Heating speed to 392°F (200°C): 13 minutes
- Temperature display accuracy: Within 5°F
- Voltage: 120V/60Hz
- Power: 10.5A, 1140W
- Max Open Height: 0.5 in
- Gross Weight: 78lbs (35kg)
- One year basic warranty
Lifetime Phone Support Included ‡
‡ Lifetime is used to define the duration of time during which the product is available for sale.
Available Financing.
Receive Instant Approval.
Fill out our quick application and we'll reach out to discuss more info and next steps. Hurry, spots limited!
